Sunday, July 10, 2016

The Eat Local Challenge 


The Challenge: to buy a week's worth of produce from the Medford Farmers Market, and to make those local vegetables the star of every meal for that week with as little waste as possible.

The Goals: to learn how to make the most of the farmers market! This project is all about experimenting with new recipes, learning how to use every part of the vegetable as well as learning from mistakes. The hope here is to help make it easier for other’s take advantage and use their local farmers markets to their full potential.

The Format: There will be a report on how each day went, recipes made, lessons learned along with hopefully helpful tips, followed by the recipes in posts to follow.

Most of the recipes I will be making will be made to have 2-4 servings, as I am mostly cooking for 1. Please remember that it is very easy to double these recipe to fit your needs! 

Let the Challenge Begin!


Saturday, July 9, 2016

An Interview With Good Roots Farm 


Located in Lincoln, Massachusetts, right near the Lexington border, Good roots farm grows and sells many different kinds of produce from baby greens to turnips to summer squash. And it’s all certified Organic! 

Learn more at their website at: http://www.goodrootsfarm.net/

What strikes me most every time I walk by their stand is just how much green there is. Turnip leaves, sprawling heads of fennel, the “salad green buffet”…it is everywhere. 

I (Kate Mitchell) talked to the farm owner Brian and his wife Lia on June 30th 

K: How did you get started? What motivated you to start your own farm?
Brian: [pauses to word perfectly] "well, I wanted to grow good food that would not impact the environment. I learned about farming from working with other farms, reading a lot, and doing it on my own.”

K:  How long has the farm been running? 
Brain: “3 years now.”
Lia: “We actually started 4 years ago, but the first year was spent prepping the land"

K: How many people working?
Brain: "we have 3 part time workers right now." 
Lia: "I help out with the markets. I am a full time nurse at mass general. This market, the Medford one, was our first market we sold at back in 2014"

K: What are some of your favorite parts about working on your own farm?
Lia: "I am not much of a gardener, so I really enjoy the opportunity to work on this [farm] project and work with my husband. I enjoy being part of his work. I also love taking and engaging with the customers."
Brian: "I just love it. I love to negotiate, I love the challenge of making good food"

K: What are some of your goals for the future? 
Brain: "I want to keep learning, to find more efficient was of doing [farming] it. It's two parts: one, is to become a better farmer, and two, is to be able to sell it [produce]!"


Amazing Beet Cake With Cream Cheese Frosting 


This cake phenomenal. Probably the best tasting home made cake I have made to date. 
I made this over the weekend to celebrate my 19th birthday, and all of the 8 people who tried the dessert gave similar rave reviews. You cannot taste the beets at all! The vegetables add moistness and make the cake tender without making it overly decadent.
People who say they hated beets loved this cake. Everyone was surprised when they heard what the “secret ingredient” was. I found the original recipe (http://www.food.com/recipe/dont-knock-it-until-you-try-it-beet-cake-63346) online and altered it as I thought needed. I am defiantly going to be making this recipe again.    

The cake batter goes into the oven as a brilliant magenta, but the cake bakes to a nice golden brown. The chopped walnuts really enhance the texture and I would not leave them out (unless someone has an allergy of course. And you could always sub with sun flower seeds or almonds.)

Ingredients are listed in the order they are prepared 

Ingredients:

  • 4 eggs
  • 2 cups sugar
  • 1 cup vegetable oil
  • 1 and 1/2 cup all purpose flour
  • 1/2 cup whole wheat flour (you can use entire all purpose flour, or use a 1:2 ratio of all purpose to whole wheat if you wish) 
  • 2 teaspoons backing powder
  • 1 and 1/2 backing soda
  • 1 and 1/4 teaspoons cinnamon
  • Sprinkle nutmeg
  • 3 and 1/2 cup shredded beats (you can also just purée them in food processor)
  • 1 cup chopped walnuts.
  • 2 teaspoons vanilla   


Method:

1--Heat oven to 350 degrees F and grease and flour 13x9 baking pan. (It is important to dust the greeted pan with flour for easier cake removal. You can use one big pan like I did, or use a bundt pan, or two smaller pans, etc.)
2--In a large bowl, beat eggs, sugar and oil until light colored and fluffy. I highly recommend using an electric mixer, but you could also use a whisk. You will just need a lot of elbow grease.


3--In another bowl, sift together flour, baking powder, baking soda and cinnamon, and stir to combine.
4--Add dry ingredients to egg mixture and mix well.
5--Add vanilla, beets and walnuts, stir with a large spatula or spoon until well combined 


If you are ok with it, taste the batter. I found this to be really helpful when getting the cinnamon amount right. 


6--Pour into pan, bake for 45 minutes to an hour, or until an inserted toothpick comes out clean, without any brown coloring. Let cool then remove from pan and frost. 


Almond Cream Cheese Frosting


I took half a cream cheese frosting recipe like this one: http://allrecipes.com/recipe/8379/basic-cream-cheese-frosting/ and added about 1/4 cup more milk and 1/4 more powered sugar plus 1/2 teaspoon almond extract and 1/2 more vanilla. The goal was to have the cream cheese flavor but also to have a relatively runny/icing consistency. The cake is very moist and goes best with a thin frosting.

Taste and adjust. 

How I did the Jackson Pollock effect:
Because the thin frosting shows all the cake’s blemishes and imperfections, I drizzled some colorful, runny frosting to make the cake look prettier. 

Method: save about 1/3 cup of the frosting and add about 2-4 Tablespoons of milk, one at a time, until the frosting is very runny but not watery. 

Add blue food coloring (or another primary color) to the frosting and mix. The take a spoon or spatula and drizzle the frosting in large sweeps. 
Add a 2-3 drops another color to the frosting bowl (I used red), mix, and dribble again.
Add more of the second color to the frosting bowl and do a few more drizzles.   

If you want a more control, make straight lines of colored sing and and swirl 
designs in with a toothpick


Serve. This cake was still just as good as leftover 3 days later 


Enjoy!

Wednesday, June 29, 2016

An Interview with Powerhouse Juice 


Located opposite of the brick wall, Powerhouse Juice brings fresh, delicious, locally sourced organic juices to the Medford Famers Market and beyond. 

They have a storefront in Mill No.5, and you can see them at their website at http://www.powerhousejuice.com/

Kate M interviewed the owner and founder, Heather, on June 16th.


K: How long has PowerHouse Juice been running?
”We started last May, so a little over a year now."

K: How did the company get started?
Heather: ”I have always wanted to start my own business. I did a lot of juicing at home and have always loved food, so it just sort of started."

K: What is your favorite part of being an entrepreneur?
Heather: ”Hmm. Let's see. It's a lot of work! Once you see growth, and you see people reacting to what you do, it just makes you want to do more. The emotional payoff is really good."

K: How did you get the flavors right?
Heather: ”We are always trying new things and a lot of trial and error. We are constantly trying to improve our juices and come up with new ones."

K: How much would you say the company has grown since it started, and what are your goals for growing in the future?
Heather: ”Last year we were selling at 7 farmers markets, and now we are selling at 18. We also sell at Mill no. 5 in Lowell, which is really cool and I highly recommend checking it out. I would love to get a bigger storefront in the next 2-3 years."


K: How many people are working for PowerHouse Juice? 
Heather: ”Just me and my Husband. I started it with working full time, and then he started helping. We are now working together."

K: What do you do with the pulp?
Heather: ”Aha! We give it to a pig farm. The farm is called Burnshirt farm in [MA somewhere] so all parts of the plants are used. Nothing goes to waste.”

K: What good about juices?

Heather: ”The average American gets very little fruits and vegetables, so juice is like a multivitamin. You get all those nutrients in one juice."

How to Make a Raw Kale Salad 


Kale is abundant in farmers markets. It’s easy to grow and has a growing season that lasts all summer and into fall. But the leaves of this nutrient rich plaint can be very tough and bitter. So what do we do? 

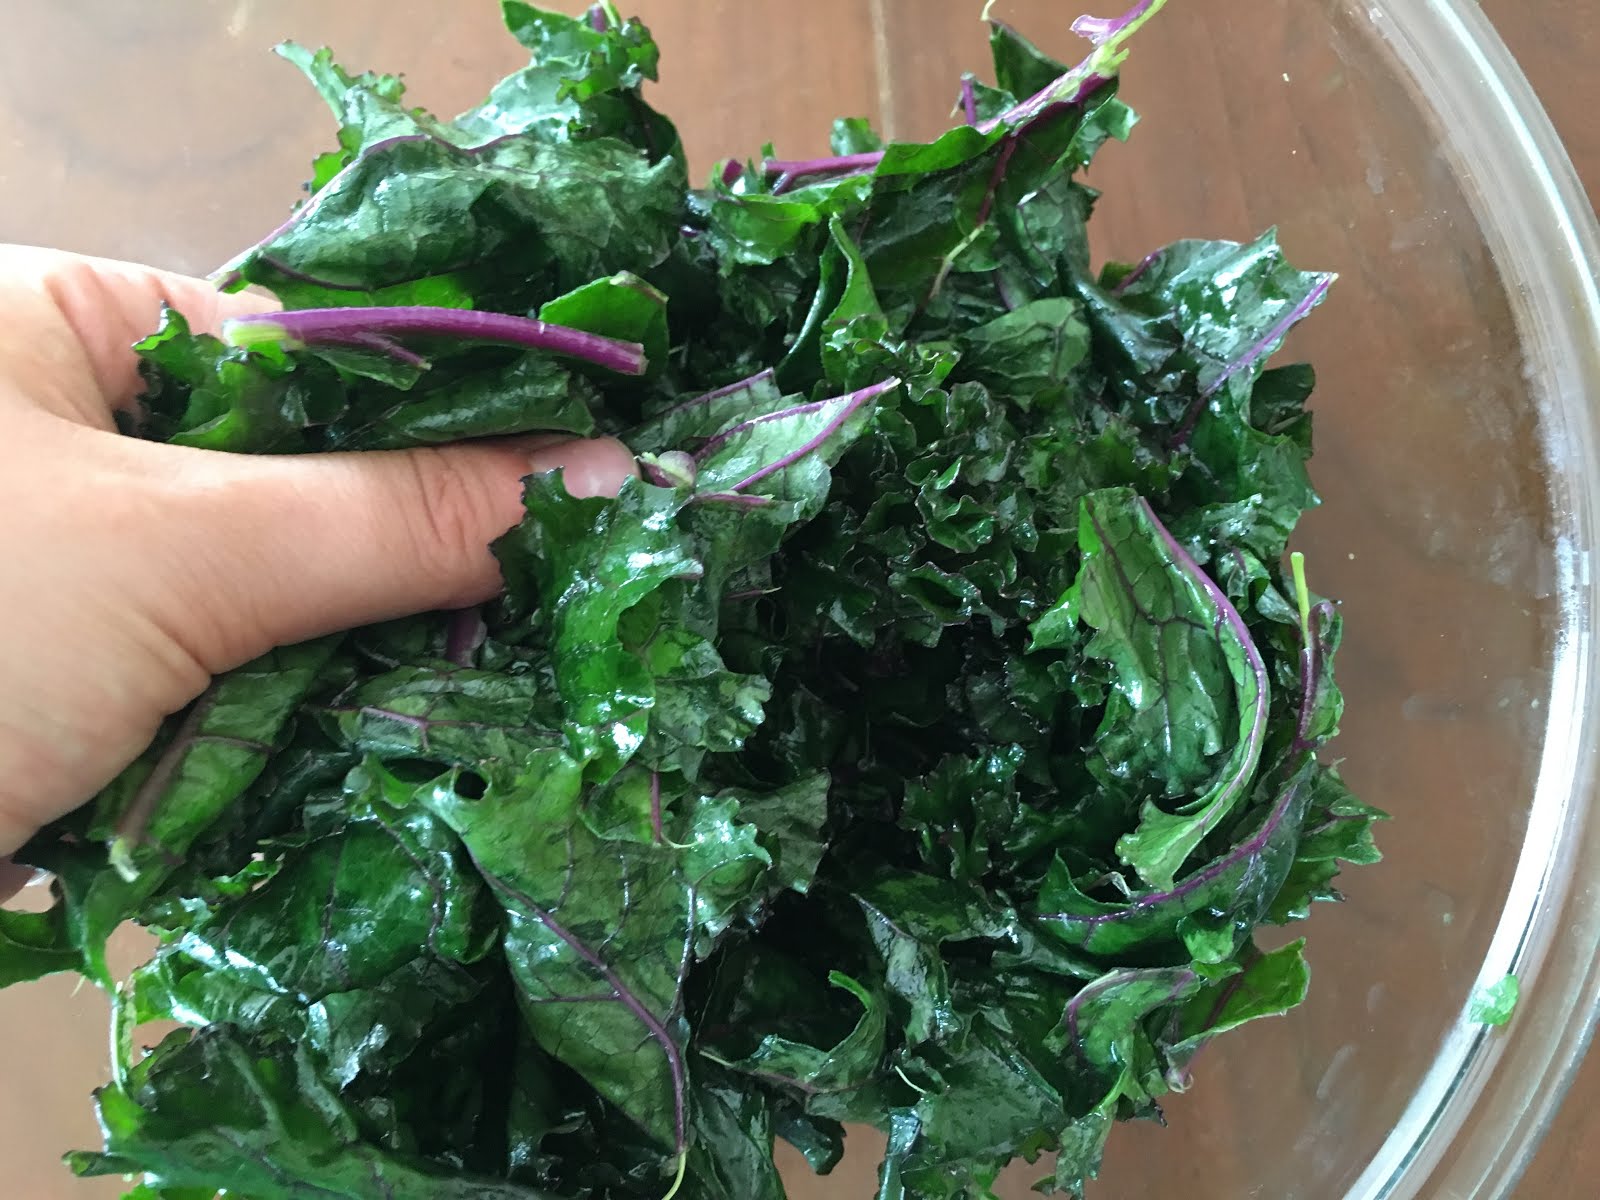
Here a way to eat kale raw while having it be delicious. This recipe is fairly easy and can be quite fun as well! The secret to this recipe is to massage the raw kale leafs in olive oil with your hands for 5 minutes. It can be a little messy, but if you have a wet rag on hand and dive into it, it can be quite enjoyable. I found the 5 minutes as a nice time to reflect on my day.  

For the dressing, I would recommend using your favorite recipe or bottled salad dressing. 
I used a mixture of lemon, apple cider vinegar, salt, pepper, and a touch of honey to taste. 

It is really important to let sit for at least 30 min before serving. At first I got discouraged, thinking I messed up my salad dressing. But when I ate it again that evening, it tasted really good. So have patience and no fear!  

Ingredients: 
  • 1 Bunch kale 
  • 1 Tablespoon olive oil
  • Pickled carrots from the provisos recipe chopped
  • Fresh strawberries chopped 
  • Tomato chopped
  • Craisins or rasins  
  • Toasted sunflower seeds 
  • Fresh cheese like goat cheese (not pictured)


Method: 
1—Wash kale and either rip or chop the leaves away from the stems. (The stems are inedible raw. Way too fibrous and tough. But there are ways to put every part of the kale to use! For some gourmet ideas, look here: http://www.bonappetit.com/test-kitchen/ingredients/article/not-bad-kale-stems. Keep your eyes out for a pickled kale stem recipe! If it passes the test that is.)
2—Rip leaves into bite sized pieces and place in a large bowl and drizzle the Tablespoon of olive oil over. 
3—Put your hands in the kale bowl and start kneading and massaging. If you have ever made bread before or seen someone do it, basically do the same motions with the kale. Grab fistfuls and squeeze, and then push down around in the bowl. After about a minute the dark green color will form and the kale will start to take on a velvety texture. Keep going for the full 5 minutes to get the kale to the point where its soft and tender enough to eat. 


4—Add dressing. Chop tomato, carrots, and strawberries and add along with the raisins/craisins, seeds, and cheese. Toss to combine.
5—Let salad sit, or chill, for at least 30 minutes before serving. Salad topping have a tendency of wanting to sink to the bottom of the bowl, so be aware of this when preparing to serve.

Enjoy!
Recipe and photos by Kate Mitchell  


Tuesday, June 28, 2016

Pickled Carrots 

Pickling: yes you can do it at home with things already in your pantry! 
Not only is this a great way of lengthening the freshness of vegetables like carrots and cucumber, but it can also give flavor and spark to whatever food the pickles are added to.   


This recipe is a little labor intensive, but I say the results are worth it. The biggest trick is to be carful with the hot pickling liquid. It will smell strong, so I recommend preparing this recipe on a day where the windows can be left open for a little bit. The carrots may not taste great immediately after they cool, but have no fear: after about 24 hours they will turn into the tastiest things ever. Maybe a slight exaggeration there, but I found them to be very very good. They make great additions and enhance the taste of salads, main dishes, soups, sandwiches. They can even be eaten straight from the container. 

Once pickled, the carrots can stay in the fridge at least a month without going bad. I just finished off the batch I made 3 weeks ago and they were still as crisp and flavorful as they were the day after I made them.


Ingredients:
  • 1 bunch carrots (about 5 medium carrots)
  • 2/3 cup Apple cider vinegar 
  • 1 Cup water
  • 1 Tablespoon + 1 teaspoon salt 
  • 2 Tablespoons honey 
  • 2 teaspoons minced dill or basle 
  • 1 Large or two small garlic cloves minced  


Method:
1—Wash carrots and separate form stems. Save stems for adding to salads or to make veggie broth. 
2—Cut carrots into 3 inch long by 1/2 wide slivers
3—Blanch carrots by carefully placing them in boiling water for one minutes then draining in a colander under cold water. This step is optional, but I found the benched carrots had a better texture. They felt a little crisper and easier to eat. 

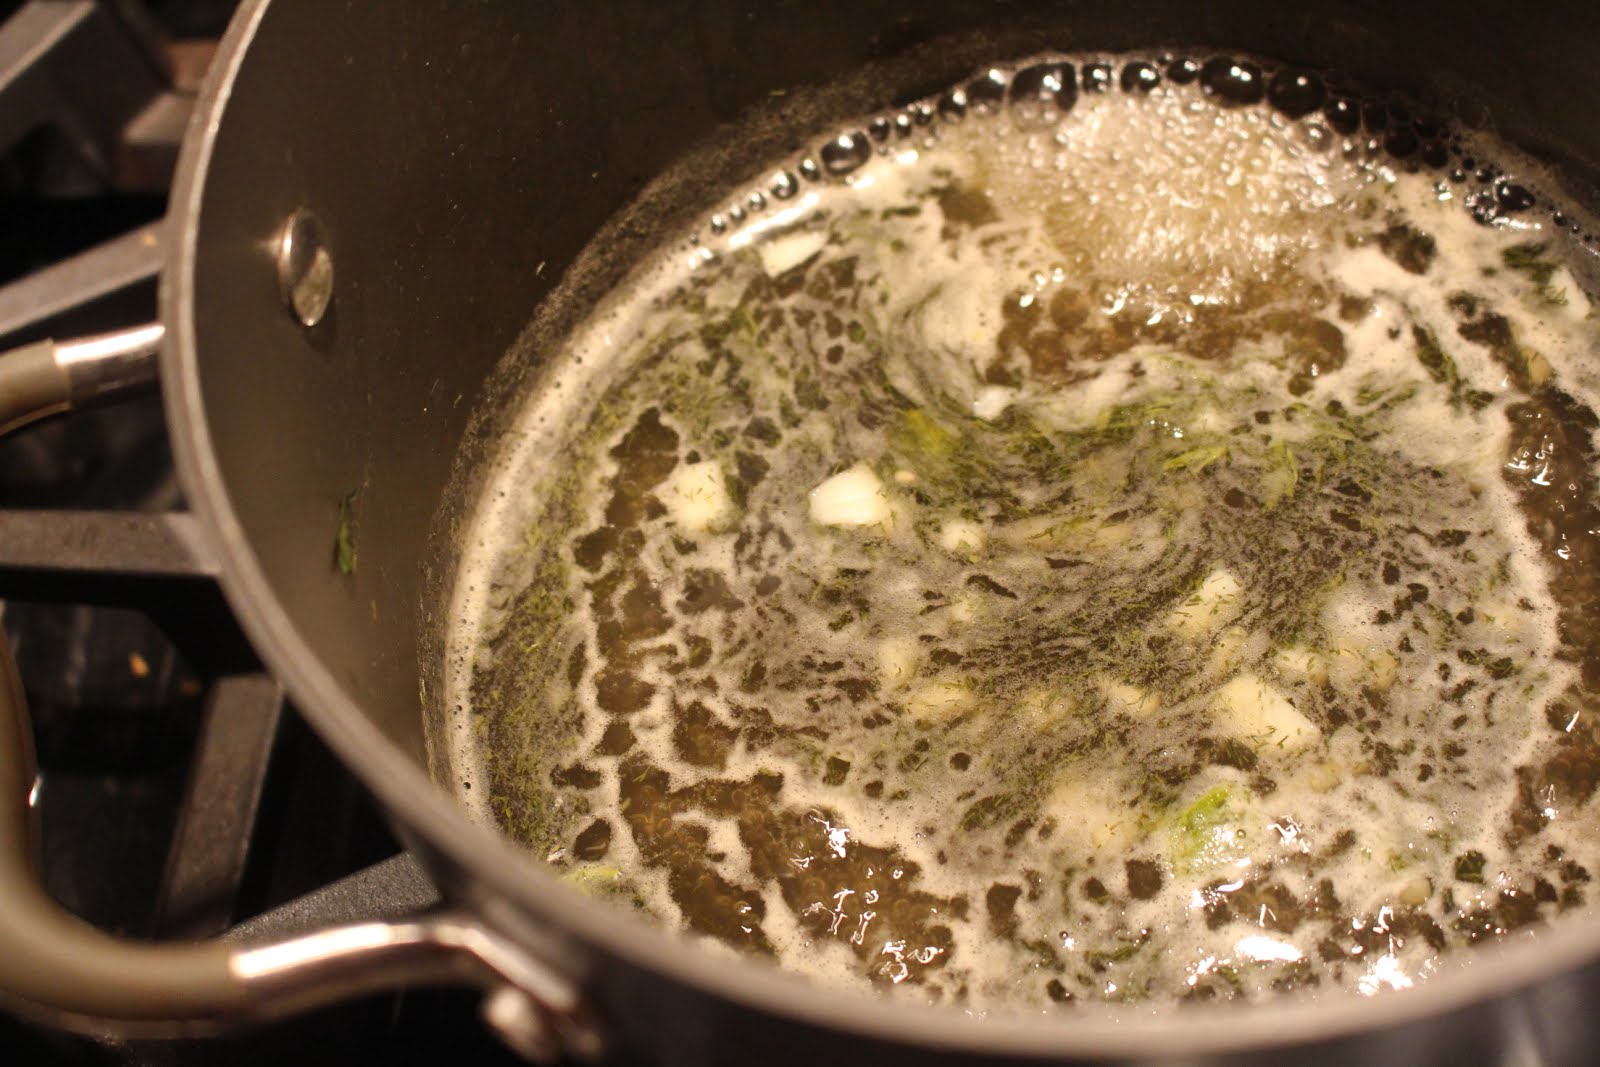
4—Bring the next 4 ingredients to a boil, then bring down and simmer for 2 minutes.

5—Place carrots a large jar/tall/large food container and poor the pickling mixture over them. 
Careful of the steam! I you get a face full of it it will not be pleasant thanks to the vinegar.
6—Let the carrots and the liquid sit until it becomes cool. Then place in the refrigerator for at least a day to let the sharpness of the vinegar to weaken and the sweetness develop. 

Now you can add them to whatever you want, or eat them straight! 


Enjoy!
Photo and recipe by Kate Mitchell

Hakurei Turnip Salad 


Think you don't like turnips? Give these guys a try! Hakurei turnips are smaller, crisper and much sweeter then regular turnips and have a wonderful delicate, earthy flavor. The leaves are also delectable; both tender and mild. This crop is nearing the end of its season, so act fast if you have not gotten a bunch of these already! 

One can eat these turnips either cooked like the recipe here: http://www.epicurious.com/recipes/food/views/glazed-hakurei-turnips-368274, or raw like the salad below. 

This recipe follows a basic salad structure and can be changed to fit your personal preferences. 
I added, and would recommend adding, about a 50/50 ratio of turnip leafs to other greens to give the salad more body. I used a mix of equal parts baby kale and claytonia (a tender, mild green) from Good Roots Farm. 


Salad:
  • 1 Bunch (about 6 bulbs) hakurei turnips diced 
  • The stems and leaves from said bunch, torn into bite sized pieces 
  • 2 Good handfuls of a slightly bitter green, like baby kale
  • 2 Good handfuls of a tender, sweet green, such as claytonia 
  • About 1/4 cup chopped raisins (I liked having the smaller pieces)
  • 1 Medium apple chopped 
  • 1/4 Of a toasted nut or seed (I used sunflower seeds)


Dressing:
  • 1+1/2 Tablespoon olive oil 
  • 1+1/2 Tablespoon balsamic vinegar 
  • Good drizzle honey (very important!)
  • 2 teaspoons onion powder 
  • Sprinkle salt
  • Sprinkle pepper 


Method: 
1— Combine all dressing ingredients in the bottom of a large bowl and whisk until conbined. I like to make the dressing in the bottom of the same bowl as my salad so one: it helps coat the all the ingredients evenly, and two: one less thing to clean!

2—Wash all vegetable ingredients. Tear turnip greens into bite sized pieces and chop turnips into bite sized pieces as well
3—Toss all salad ingredients in the bowl with the dressing, using two utensils to evenly coat.
4—I recommend letting the salad sit for about 30 minutes to an hour before serving to let the flavors meld. Salads like these almost always taste better after sitting for a bit. Serve as a side salad or with a protein and grain to make a complete meal.


Enjoy!
Photos and recipe by Kate Mitchell